How to Plan Ahead for the Upcoming Term
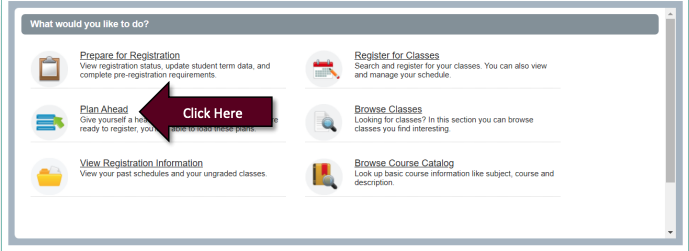
Give yourself a head start by planning out your schedule for the upcoming term. Once built and saved, your plan can be accessed and used to register once registration opens for that term. For instructions on using the Plan Ahead feature, please review the following steps.
- Login to online registration
- Next click on Plan Ahead
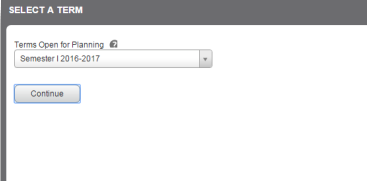
- Enter in your desired term and then click Continue
Tip: If you intend to plan ahead for multiple terms, it is recommended that you create plans for each term in chronological order (Example: Semester I, Semester II, Summer). - Next click on Create a New Plan:
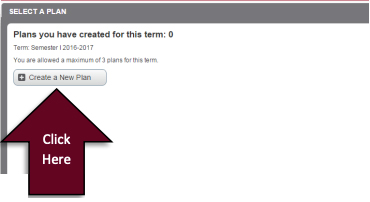
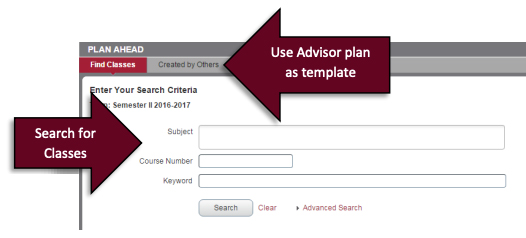
Tip: If you have already created and saved a plan, you can edit or delete it by clicking the appropriate button. If your advisor has created a plan for you, you can view it, but you cannot edit or delete it. You can however create a new plan and use your advisor’s plan as a template. - Next find class sections and/or courses to add to your plan by:
- Searching using basic or advanced options
- Using a plan created by your Advisor as a template
- Once located, a course can be added to your plan OR you can drill down to the individual class sections by clicking on the View Sections button. To add a desired class section to your plan, click the Add button next to section.
Please note that simply adding a course or class section to your plan does NOT register you for the class. Plans are used to assist with registration once registration opens for a given term. Plans are optional and not required to register. All course requirements (restrictions, prerequisites etc.) are checked at the time of registration.
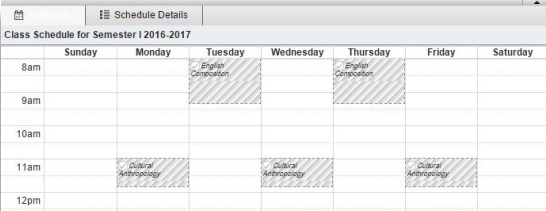
Tip: It is recommended that you add class sections vs. courses to your plan when at all possible. The ability to add individual class sections is available once the class schedule for the term in question has been published. Class sections added to your plan can easily be moved from your plan to your registration summary once registration opens. If you are planning for a term that does not yet have classes published you can create a preliminary plan by adding Courses and returning later to add individual class sections once the class schedule has been published. - As you add class sections to your plan, the schedule grid begins to populate your planned schedule.
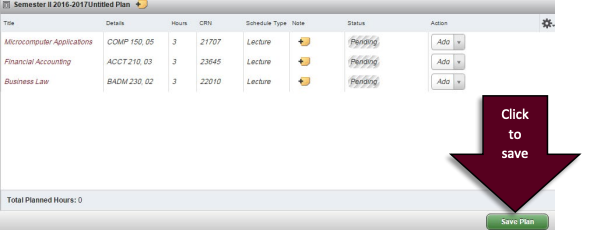
- Now that you have populated your plan summary with all your desired class sections and/or courses, click the green Save Plan button to name and save your plan.
- Congratulations on creating a plan for the upcoming term. You can return to your plan at any time to make modifications. Once registration starts you can use your plan to register.